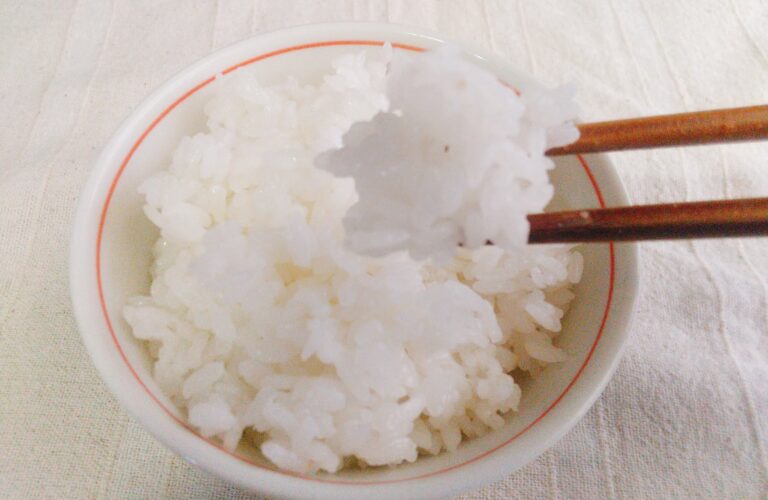
If you have ever eaten sushi, you probably noticed the difference between Japanese short grain rice and long grain rice such as jasmine rice or basmati rice you might be more familiar with. Japanese rice is stickier than those rice and this is why we can make sushi with rice. If you tried to make sushi with long grain rice, it would crumble when you lift it up to eat. I know lots of people are afraid to cook sushi rice but it is actually so easy if you follow the steps and have the patience to wait for soaking time and resting time(they are very important)!
What to know about Japanese Rice
Japanese rice is a type of rice commonly eaten in Japan, Korea, and northeast China. In Asia, rice is a staple food, but long-grain rice is more popular and largely produced in the other part of Asia. The stickiness and chewiness are the main characteristics of this rice and are the reason why Sushi was invented in Japan because shaping sushi would be difficult without this stickiness. Cooking Japanese rice in a pot is actually very easy, but to get the best result, you need to follow rules. I will show you some tips and tricks.
Tips and Tricks
- Rinse your rice 4 times to avoid mushy rice
- Soak your rice at least 1 hour to get your rice fluffy
- Leave your cooked rice after finishing cooking
- Fluff your rice before eating to let excess steam out
Step by Step Guide for Cooking Rice
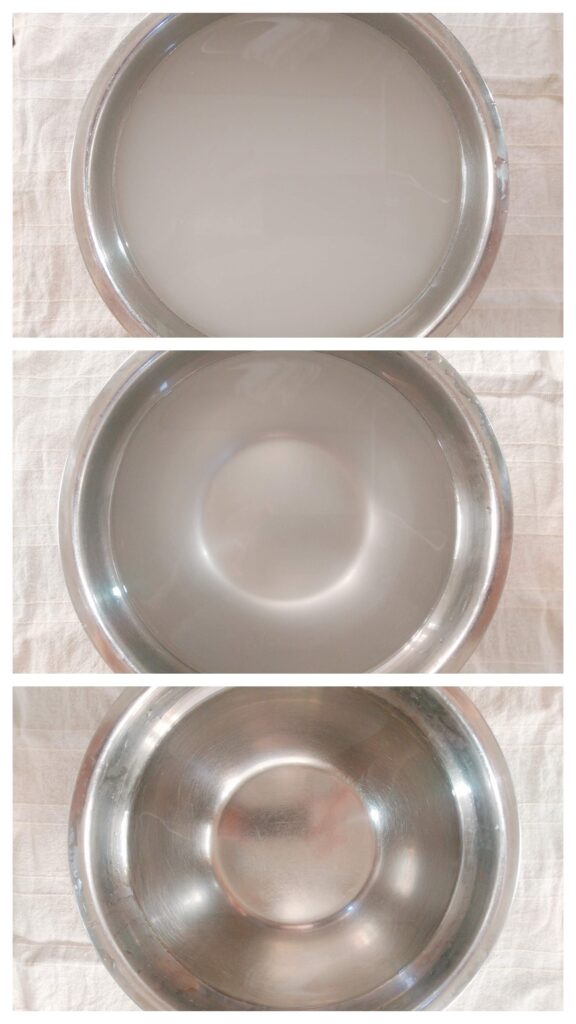
1 Rinse your rice properly. Rinsing your rice enough is very important to avoid the rice becoming gloopy, but too much rinsing ends up making the rice bland. I always do rinsing by setting a colander in a bowl and putting my rice in it and filling the bowl with lots of water, then discarding the water. I usually do this process at least 4 times until the water looks like the second photo below. The first photo is the first rinsing water and if you wash your rice until the water becomes crystal clear like in the third photo, you probably did rinsing too much.
2 Soak your rice enough to let your rice absorb water
It is recommended that you soak rice( in this case Japanese rice of course)f at least 1 hour and even overnight is fine if it’s not too hot in your room or you can chill in the fridge. After soaking, drain the excess water thoroughly,otherwises,e your rice ends up a bit too sticky.
3 Measure water precisely
This is the golden rule for cooking Japanese rice in a dutch oven to measure the same volume of rice and water. Because the dutch oven doesn’t have any holese or anything for the steam to escape, the same volume of water to rice is enough as long as your rice has been soaked.
4 Cook the rice with a lid on
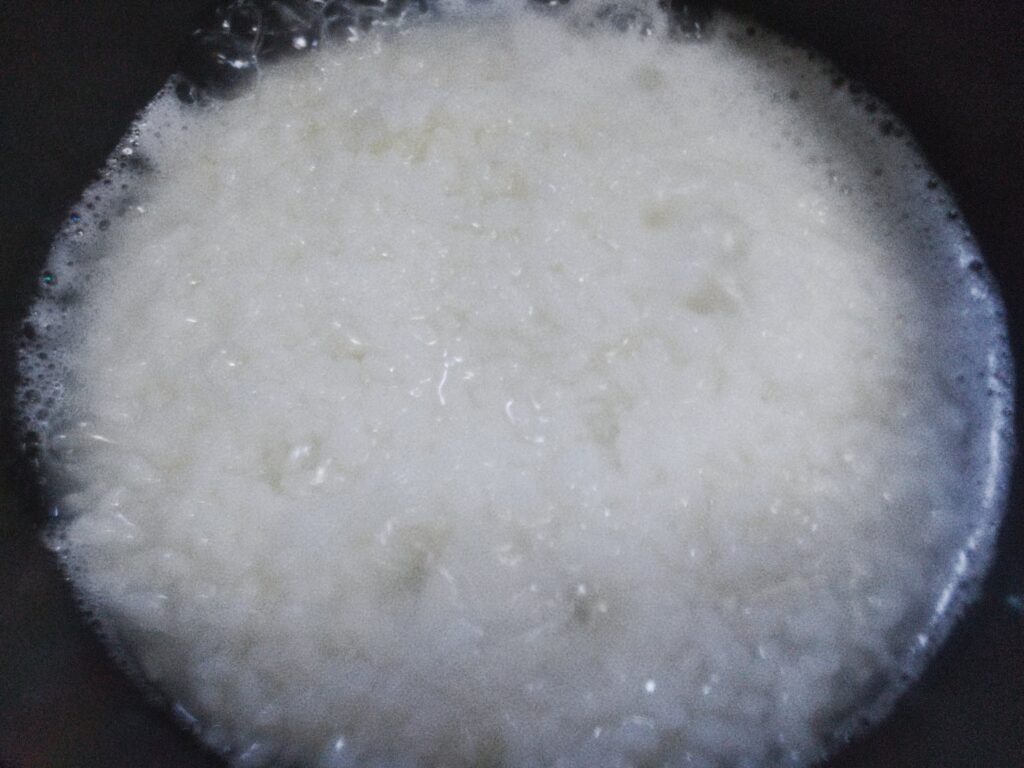
Turn medium high heat and bring your riceand waterr to boil for about 10 to 13 minutes until your rice boils vigorously like in the photo below. I recommend setting a timer to 8 or 9 minutes and checking to see what your rice looks like because you can’t see through the lid. Do nottworry if there is so little water left at this stage , you can adjust the time of cooking next step.
5 Turn the heat down to low
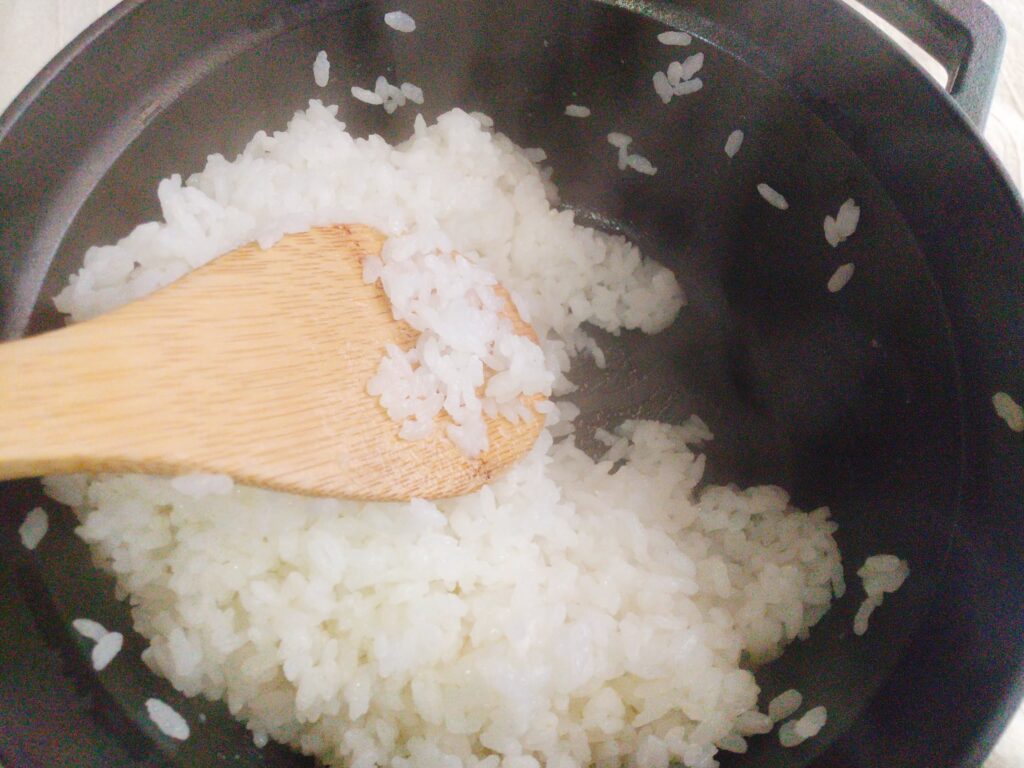
Turn the heat down and put the lid on to cook further. It takes about 10 to 15 minutes depending on your stove. You can check the state of your rice by taking the lid off 1 or 2 times. Firstly, there shouldn’t be any water on the surface. Secondly, any excess water shouldn’t be on the bottom of the pot. I recommend you check the donenesss by pushing the rice alongside the pot using a spatula or a wooden spoon like the photo below.

6 Put the lid on and rest the rice
It is sometimes overlooked process in cooking rice, but is actually very important. By leaving the rice in the pot, moisture can be distributed to every grain of rice evenly and infuse more umami in the rice. Usually 10 to 20 minutes are enough, leaving too long isn’t good either.
7 Fluff the rice with a wooden spoon
Once resting has finished, you must fluff the rice with a wooden spoon gently. Fluffing the rice can release excess steam and avoid your rice get musy and gloopy. Now, your rice is ready!
Q & A
Can I freeze the cooked rice ?
Yes! I always do with my rice is when it’s still hot, divide my rice per serving and put them in air tight container and put lids on before letting the rice cool. This makes your rice stays moist and prevent it going dry when it is thawed.
How do you thaw freezed rice?
Freezed rice can be microwaved and is the best way to thaw it. How long you do it really depends on the product. I usually microwave my freezed rice for 3 minutes on 500w.
Can I store cooked rice in fridge?
Technically you can ,BUT I don’t recommend doing so. Refrigerated rice do not taste as good as freshly cooked one at all. The texture is dry and stickiness and moistness which are the most notable character of Japanese rice disappear.
What can I do with refrigerated rice?
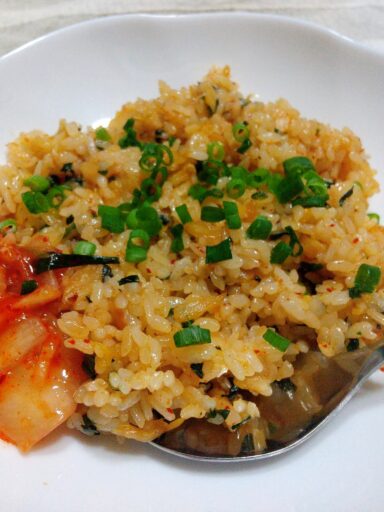
If you mistakenly put your rice in fridge and make your rice dry, making fried rice is a good solution. Actually, some Japanese people intensionally fridge their rice to make fried rice, because the stikiness of Japanese rice is a kind of enemy of making fried rice, so dry rice is sometimes prefered.
Recipes You Can Make with The Rice
Vegan Mapo Eggplant (Mabo Nasu) Rice Bowl
Eggplant Kabayaki Rice Bowl (Vegan)
Vegan Crispy Fried Tofu Rice Bowl with Korean Spicy Sauce (Yangnyeom)
How to cook Japanese Rice in a dutch oven
Equipment
- dutch oven
- colander
Materials
- 2 cups sushi rice
- 2 cups water
- extra water for soaking
Instructions
- Put the rice in a colander fitted in a bowl or a dutch oven and fill in lots of water, then lift the colander immidiately to discard the water.
- Fill the bowl with water again and stir the rice with your clean hand. Discard the water and do this process at least 3 more times. When the water becomes almost clear, that's when to stop rinsing. Do not rinse it until the water becomes clear otherwise the rice would be bland.
- Strain the rice and put the colander back in the bowl or the dutch oven and fill in enough water to soak the rice. Soak for at least 1hour ( You can leave the soaked rice up to 12 hours in cool place).
- Strain the rice thoroughly and put it in the dutch oven with 2 cups of water. Put a lid on and place the pot on your cooktop and bring to a boil over a medium high heat( For about 10~13 min).
- Once it boils, turn the heat down and let it simmer until there is no water at the bottom of the pot( It takes about 13~15 min). Check if it's done pushing the rice along the side of the pot using a wooden spoon or a spatula to see the bottom of the pot. When the bottom becomes dry, remove the pot from the heat and let it sit for 10 to 15 minutes without opening the lid during this process.
- Fluff the rice with a wooden spoon or a spatula to release excess steam before plating. If you use a wooden spoon, getting the spoon wet prevents from sticking rice.

